Active Directory MECM LAB - Part 1
After few hours, days, weeks of install, ansible recipe creation, fails and many retries, the lab is ready.
This lab was created with the inspiration to test the following resources:
Thanks to the writers, and thanks even more to all the searcher who have share all these findings about SCCM.
Lab structure
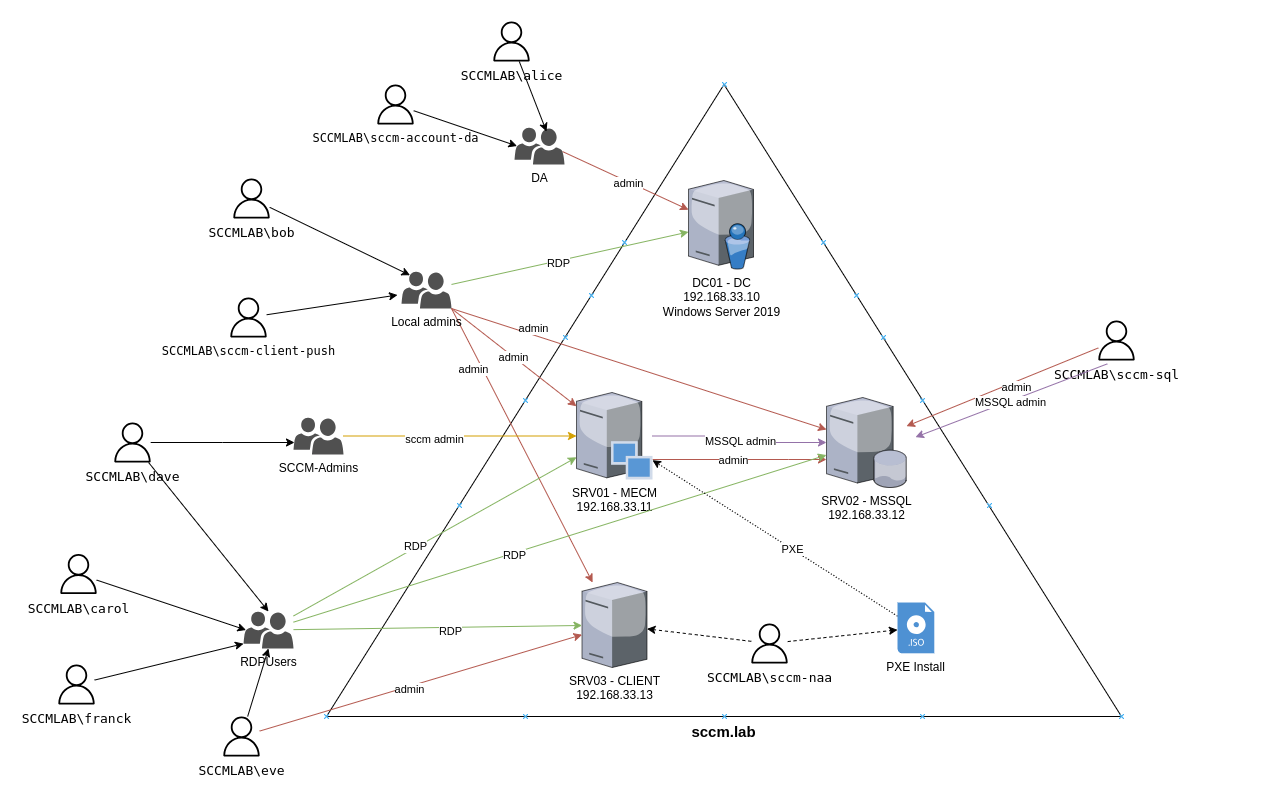
The lab is build on top of 4 VMs:
- DC.sccm.lab : Domain Controler
- MECM.sccm.lab : mecm primary site serer
- MSSQL.sccm.lab : mecm sql server
- CLIENT.sccm.lab : mecm client computer
The lab is deployed using Microsoft Endpoint Configuration manager (a new name for SCCM : System Center Configuration Manager). All vms are build on top of a windows server 2019 evaluation.
The product known today as Microsoft Configuration Manager has undergone several name changes since its inception, reflecting shifts in Microsoft’s management strategy and branding:
- 1994: Originally launched as Systems Management Server (SMS), the tool provided basic systems management capabilities for Windows environments.
- 2007: Renamed to System Center Configuration Manager (SCCM) when it became part of the System Center suite of IT management tools.
- 2012: The “Current Branch” model began, with version numbers like 1511, 1602, and later 2303, indicating year and month of release.
- 2019: Rebranded as Microsoft Endpoint Manager Configuration Manager (MEMCM), aligning with Microsoft’s cloud-focused Microsoft Endpoint Manager (MEM) suite, which includes Intune.
- Present: The official name is Microsoft Configuration Manager, with Configuration Manager or ConfigMgr being the most preferred name.
Prerequisites
Just like for the GOAD lab you need some requirements to be installed before launching the lab install.
- GOAD lab on VMware or Virtualbox
- EXEGOL Framework
- Python >= 3.8
- Install script for ubuntu 22.04 (LTS):
1
2
3
4
5
6
7
8
9
10
11
12
13
14
15
16
17
18
19
20
21
22
23
24
25
26
27
28
29
30
31
32
33
# Install VirtualBox
sudo apt install virtualbox

# Install vagrant
wget -O- https://apt.releases.hashicorp.com/gpg | gpg --dearmor | sudo tee /usr/share/keyrings/hashicorp-archive-keyring.gpg
echo "deb [signed-by=/usr/share/keyrings/hashicorp-archive-keyring.gpg] https://apt.releases.hashicorp.com $(lsb_release -cs) main" | sudo tee /etc/apt/sources.list.d/hashicorp.list
sudo apt update && sudo apt install vagrant

# Vagrant plugins
vagrant plugin install vagrant-vbguest

# VMware
wget https://releases.hashicorp.com/vagrant-vmware-utility/1.0.22/vagrant-vmware-utility_1.0.22-1_amd64.deb
sudo dpkg -i vagrant-vmware-utility_1.0.22-1_amd64.deb
sudo systemctl start vagrant-vmware-utility
vagrant plugin install vagrant-vmware-desktop

# gem for winrm with ansible
gem install winrm winrm-fs winrm-elevated

# install some additional packages
sudo apt install sshpass lftp rsync openssh-client

# install project requirements
git clone https://github.com/Orange-Cyberdefense/GOAD.git
cd GOAD
sudo apt install python3-venv
python3 -m virtualenv .venv
source .venv/bin/activate
python3 -m pip install --upgrade pip
python3 -m pip install ansible-core==2.12.6
python3 -m pip install pywinrm
ansible-galaxy install -r ansible/requirements.yml
Install
- Just like goad lab the install is pretty simple:
1
2
3
source .venv/bin/activate
./goad.sh -t check -l SCCM -p vmware -m local
./goad.sh -t install -l SCCM -p vmware -m local
- The install is pretty big, you need 116 GB of disk space.
Also during the install a lot of things are downloaded (windows iso, mecm installer, mssql installer)
- If all goes well we will see this message at the end of the install:

As comparison a GOAD installation take around 100 minutes to run.
Install verifications
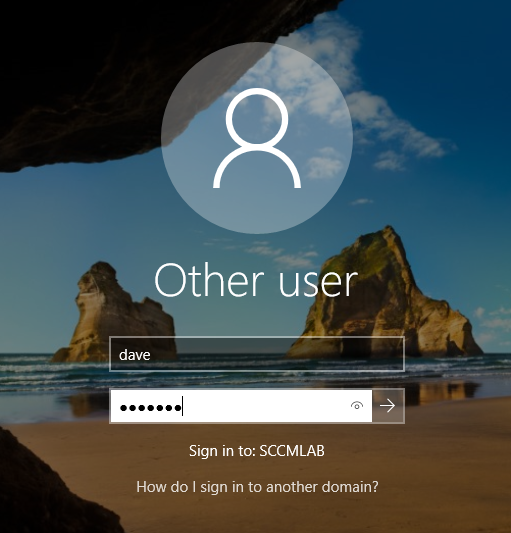
If all goes well will have a working lab with configuration manager installed. Let’s verify:
Connect to MECM$ with the following credentials:
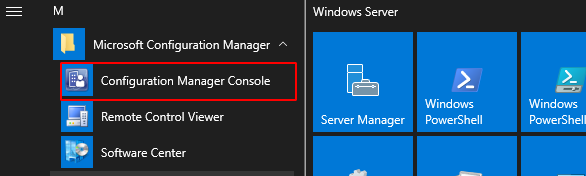
Open the configuration manager console:
Check if the clients are enrolled (should have a green check and client active on MSSQL, MECM and CLIENT computers):

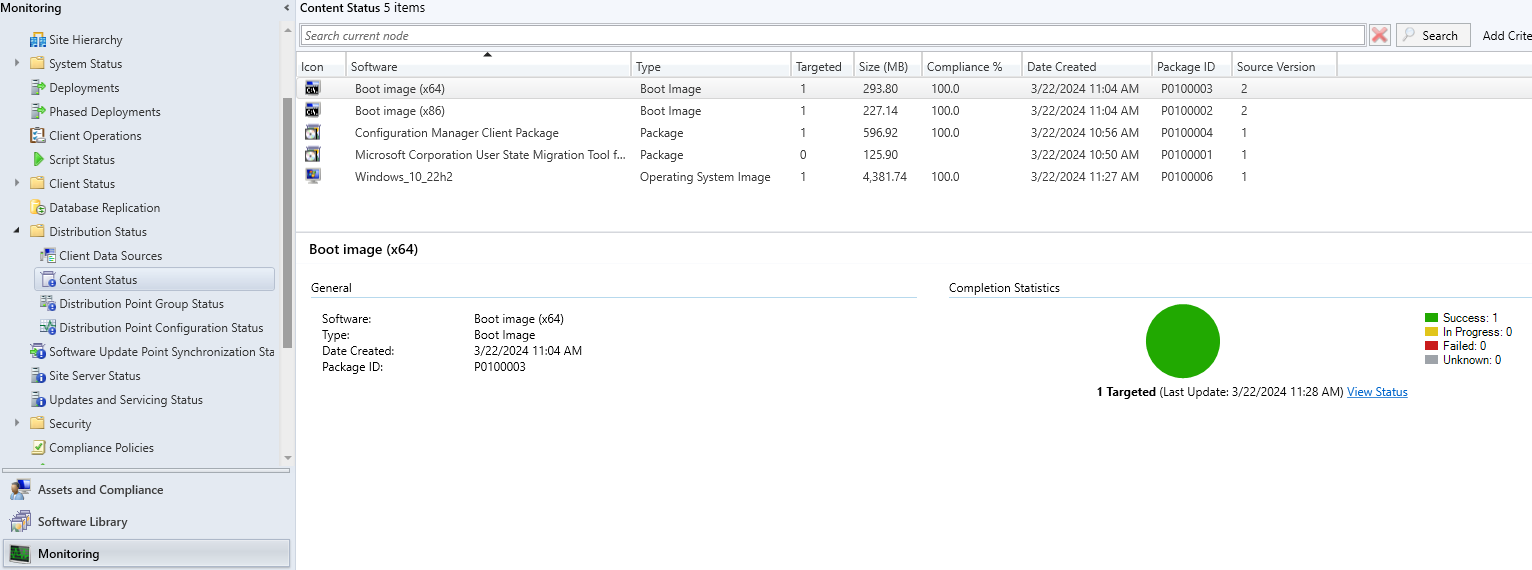
The distribution of boot images and operating system for pxe:
Lab setup completed. In the next article we dicuss and test all listed vulnerabilities.
Vulnerabilities
- SpecterOps team (@subat0mik, @garrfoster and @_Mayyhem) has done a lof of work to classify sccm Vulnerabilities: https://github.com/subat0mik/Misconfiguration-Manager/blob/main/attack-techniques/_attack-techniques-list.md
Tested in the lab
Without creds:
- cred-1 - PXE Credentials : Retrieve secrets from PXE boot media
With low users creds from linux :
- recon-1 - ldap enumeration
- recon-2 - smb enumeration
- recon-3 - http enumeration
- takeover-1 - Relay to Site DB (MSSQL)
- takeover-2 - Relay to Site DB SMB
With low user creds from windows:
- elevate-2 - Relay Client Push Installation
With machine account creds:
- cred-2 - Policy Request Credentials
With admin access on client:
- cred-3 - DPAPI Credentials
- cred-4 - Legacy Credentials
With sccm admin account
- cred-5 - Site Database Credentials
- exec-1 - App Deployment
- exec-2 - Script Deployment
- recon-4 - CMPivot
- recon-5 - SMS Provider Enumeration